So far we have covered how to setup your project for multiple developers and how to deploy our site from our local built to a server, but what we really want is the deployment to happen automagically without anyone having to press buttons and push files about.
MSBuild Deployments
When you publish from visual studio, you are really just running a parameterized version of MSBuild.exe which is the workhorse behind your visual studio builds.
The simplest way to automate your build is to use MSBuild.exe directly to push your site about. there are quite a lot of parameters to do this, but fortunately, with Visual Studio online, it’s going to be done for us.
Build Servers
Having a parameterized version of msbuild is all very good but you still have to run it somewhere and this is where build servers come in. There are a number of build servers and services that allow you to automate how your site is built and you can do most of what we are covering here with any build server - for the rest of this post we are going to look at Visual Studio Online.
Visual Studio Online
I am a big fan of Visual Studio Online (VSO), not least because for teams of 5 developers or less it’s basically free* but also a lot of the hard work in build and deployment has been done for you.
Source Control
VSO has build in source control, but even if you don’t store your code within VSO you can connect still use the build and release processed by connecting your external repository to the project.
Build & Release
Within visual studio you can create a process that will build and release your code in one step. For the purpose of this post we are going to split them out into a build process and a release process - this will allow us to see how the separate elements work, but also it allows you to have a single build going to multiple locations.
Build
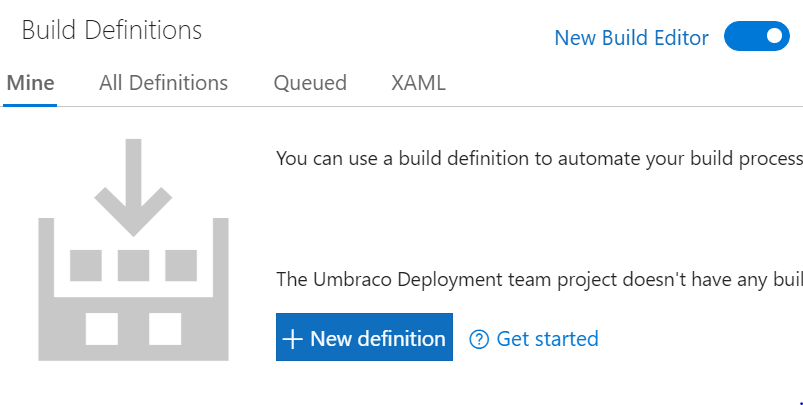
Once you have a project in visual studio online - you will need to create a build process. If you are using the New Build Editor then you will see the following screens:
Select a template:
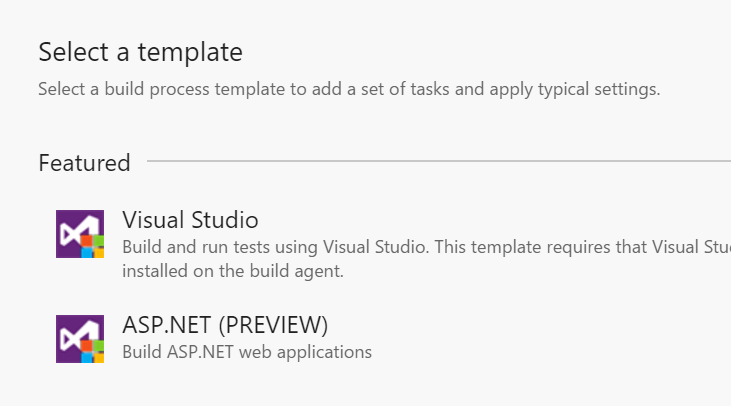
You can use many of the templates to build your site, but because it’s already there the ASP.NET (PREVIEW) template has all the parameters we need for our build already filled in.
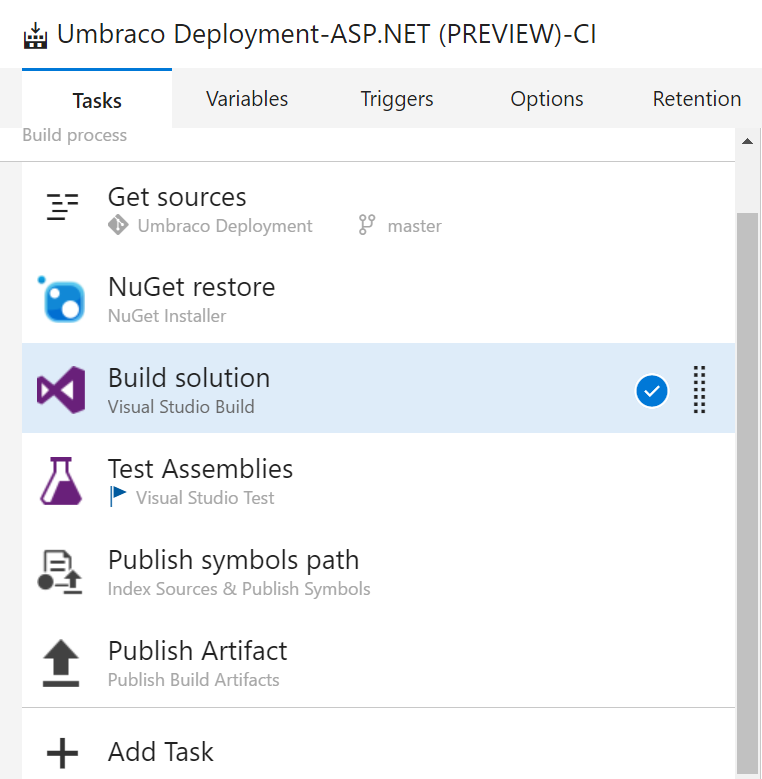
The ASP.NET template will give you all the steps to build your project, these steps can be summarized as get, build and push, and will generally work straight out-of-the-box
MS Build Options
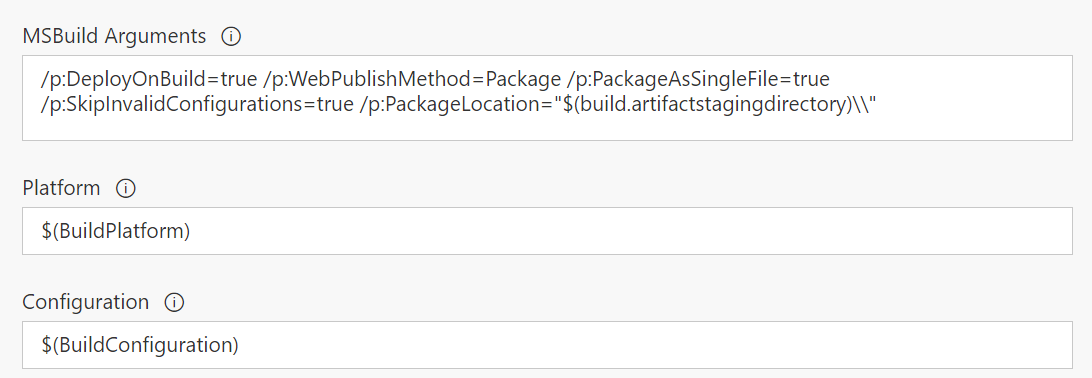
As we have already seen msbuild has lots of options to build your project, for our visual studio online build we are using the arguments to create a deployment package, and this is what we will later take and release to our server.
Release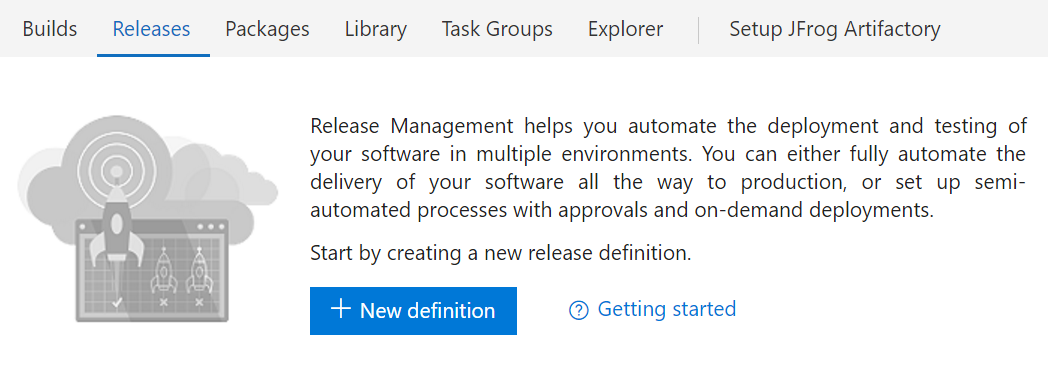
So once you have a successful build you will want to release that onto a server. Like with most build servers visual studio will allow you to deploy to loads of different locations. Again because we want to keep the process simple we are going to deploy to an azure web app - because then we don’t have to build a server. At this point we are going to assume you have a web app and azure db configured and ready to take your site (see seeding the db in previous post)
Release Definition
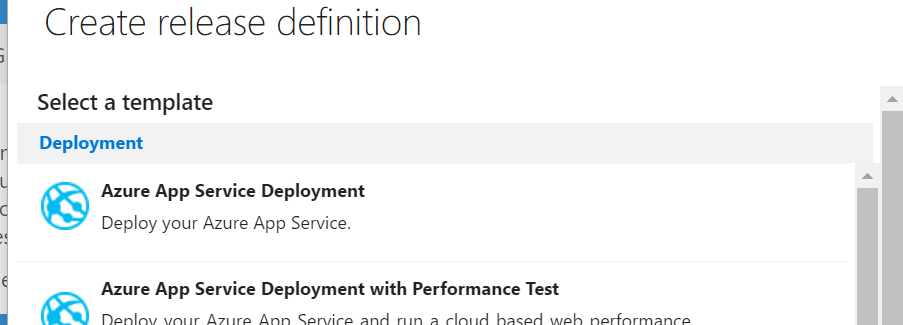
An Azure App Service Deployment is what we want if we are going to deploy to azure
Release Definition
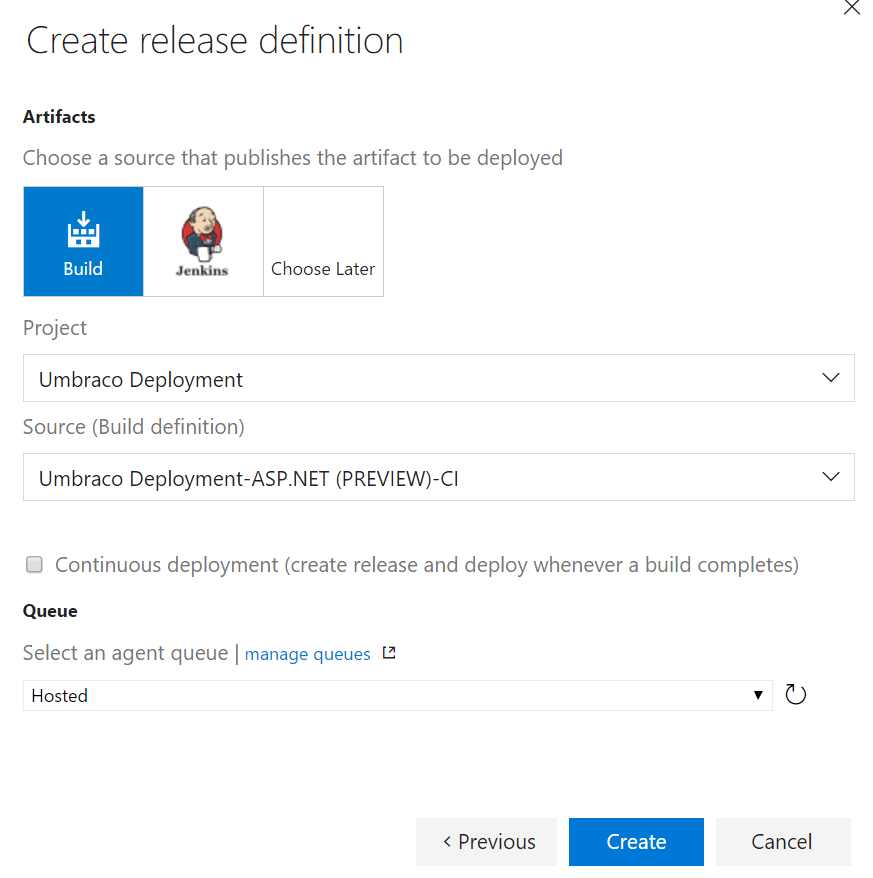
The release definition allows us to configure where our release files will come from and if we want we can automatically trigger our release to run whenever a build has been successful.
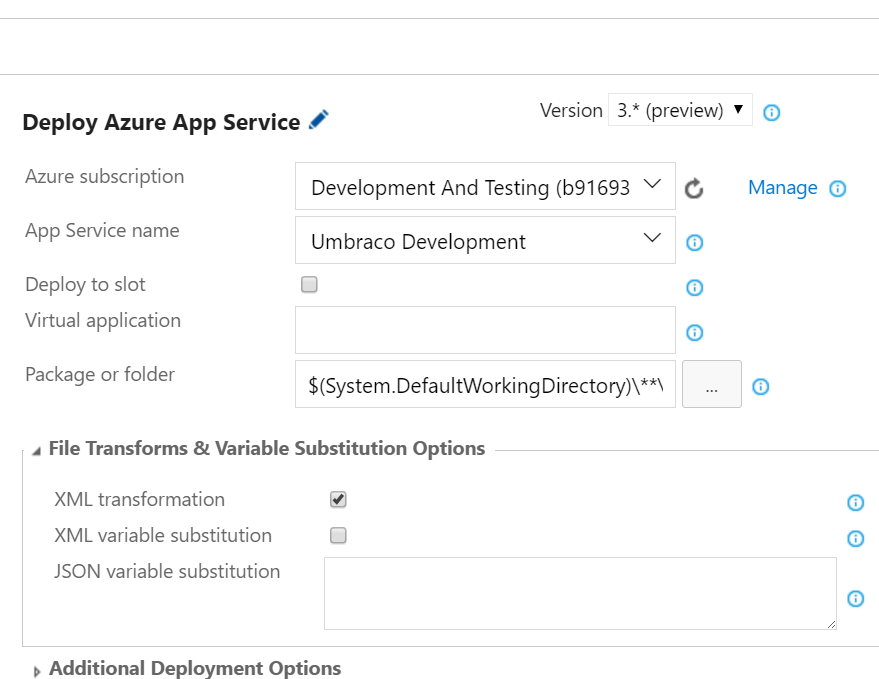
Deployment Configuration
Once you have configured your release you will have one step where you can select and configure your azure app.
Publish and be damned
So now we have a build and release,and if everything has gone well you will building and deploying like a boss.
First Deployment
When you first deploy to Azure your database won’t exist and as when we setup a new developer or publish from visual studio, you will need to either stage the database or let umbraco run through the installation first time.
Telling Umbraco it’s not installed
My preferred method here (because it’s quick and dirty!) is to change the web.config on the azure site so Umbraco runs through the install first time.
To do this you need to go to the Admin interface of your site. You get to this by adding scm to the url of your azure site:
https://yourazuresite.**scm**.azurewebsites.net/
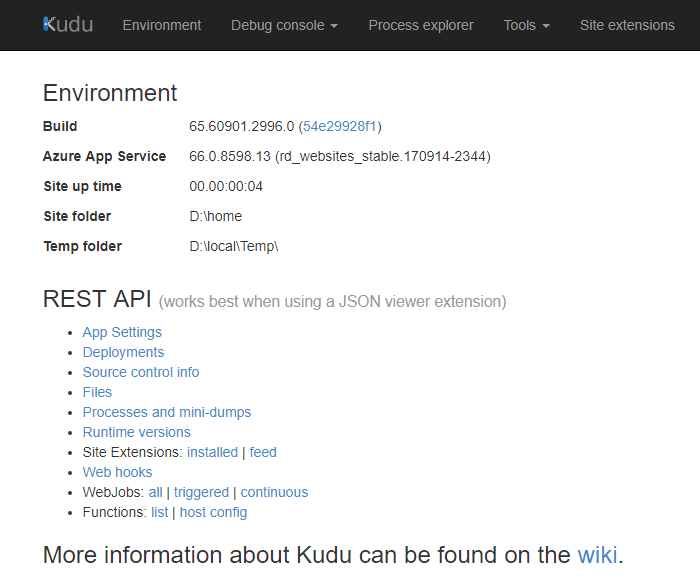
If you open either the CMD or powershell debug console, you can navigate the files within your azure site and you can edit the web.config to remove the umbraco version and Umbraco DSN value.
As in our developer setup example if you do this and then visit the site, Umbraco will run through it’s first install and initialize the database - once that is done, uSync will kick in and deploy all of your site changes to the installation and your site will be ready (minus content if you didn’t also deploy uSync.ContentEdition).
This is a one time step to get the site working on azure, but once it is done, you can deploy to your heart’s content, and all your changes will be reflected on your azure site.